Hi -
I started building amps a little over 10 years ago but I have never tried anything as complicated as an ODS. I usually post my builds in another forum (TGP), but since I’ve been using all the great info here as my main source, I thought it only fair to post my build thread here instead. I’m a little scared, since you folks are a bit intimidating, but I thought you’d get a chuckle out of my efforts.
I’m using modern parts (much of it in stock in my workshop). I’ve generally used Classictone transformers, but since they went belly up, I ordered Hammonds for this project. I ordered Blackface Bassman spec parts, 290EX PT, 1760L OT and 194B choke.
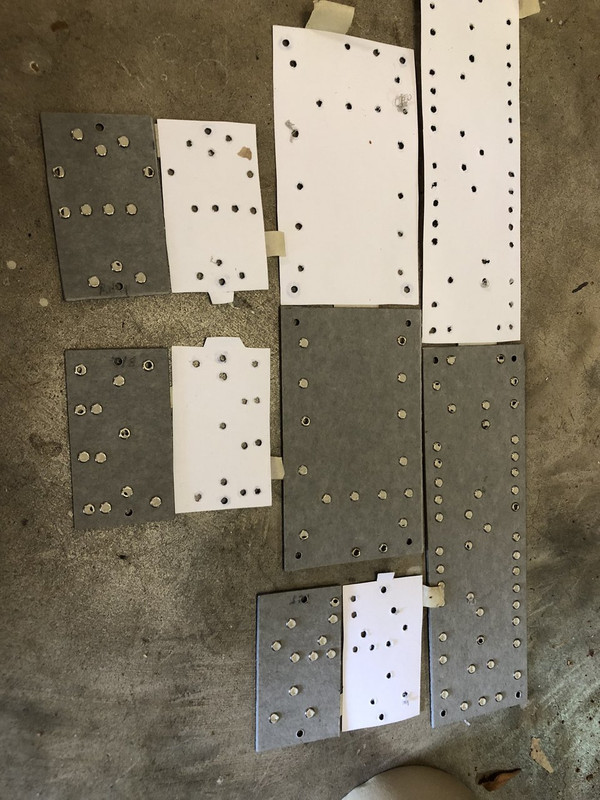
My usual first step is to layout the chassis blank on a piece of cardboard (in this case, a Miller Highlife 18 pack) and create eyelet board layouts on card stock printed from my computer. I cut out the chassis flat on a bandsaw and drill everything with my drill press. Like this:
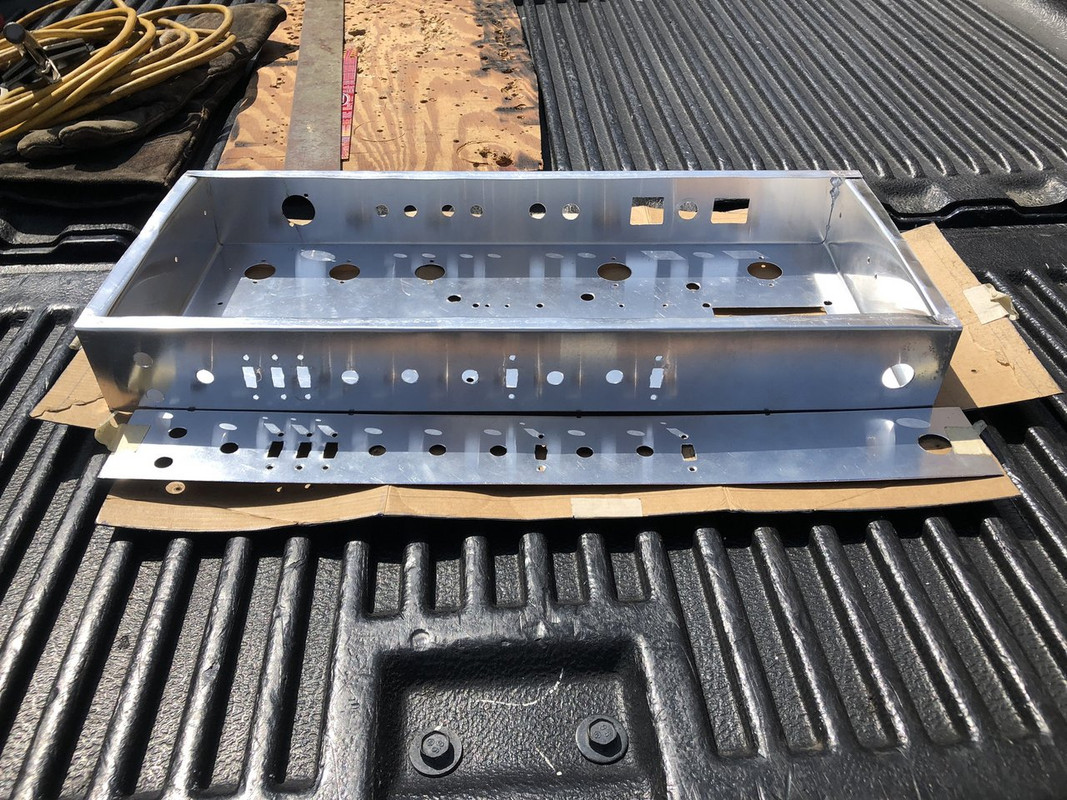
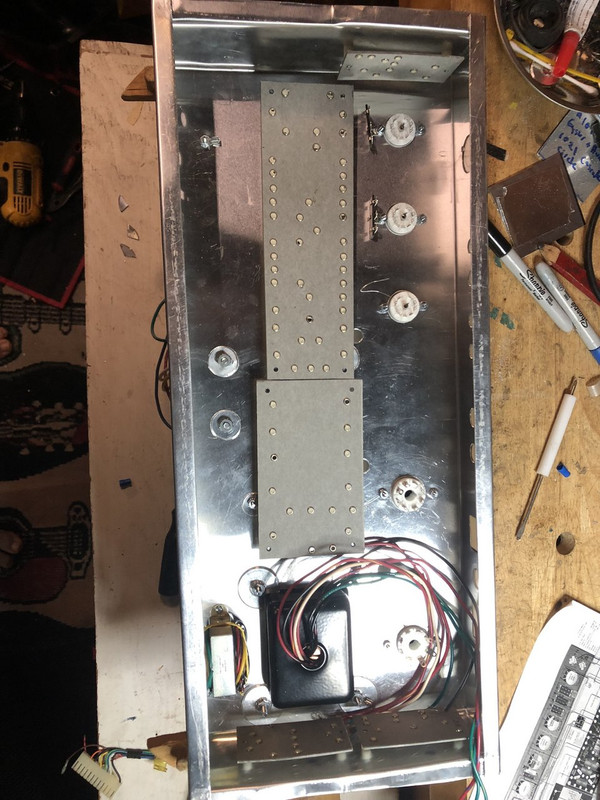
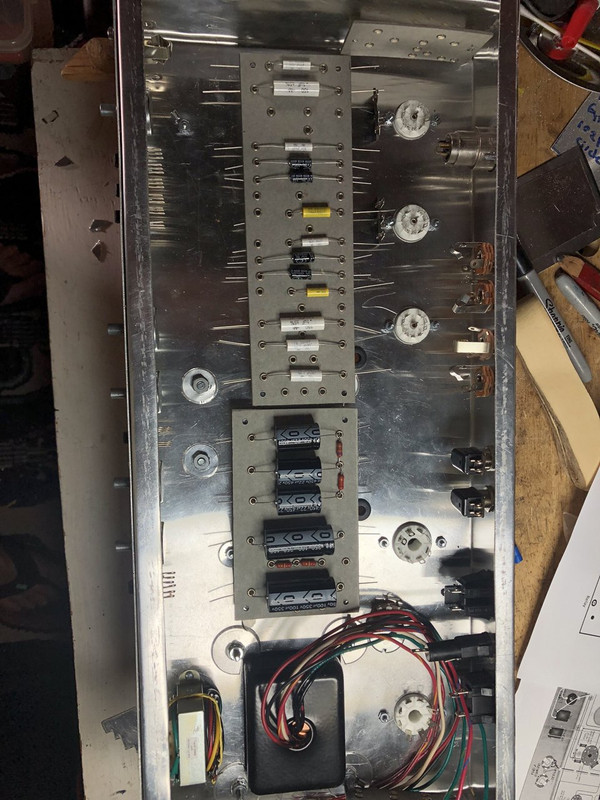
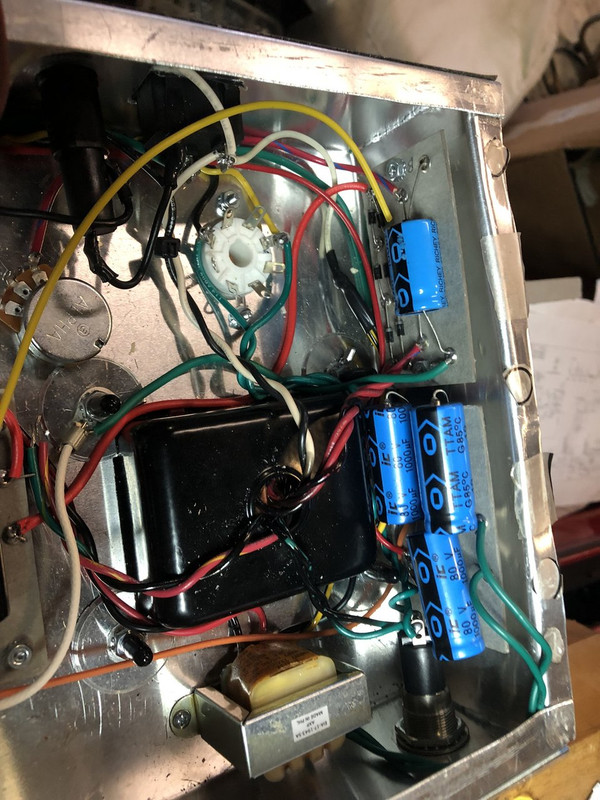
Here’s the chassis with the transformers and tube sockets mounted. I’m using ceramic sockets on this build with shield bases on the nonal’s and spring clips on the octals because the chassis will be hanging tubes down in the cabinet. I also like big washers on the transformer bolts to spread the load. I am using a separate Triad F-313x transformer for the relay power but also bought a couple of 12v 1a linear voltage converters in case that doesn’t work out. I mount the boards in 1/4” phenolic standoffs with lock washers. They’re just sitting in place to confirm fit.
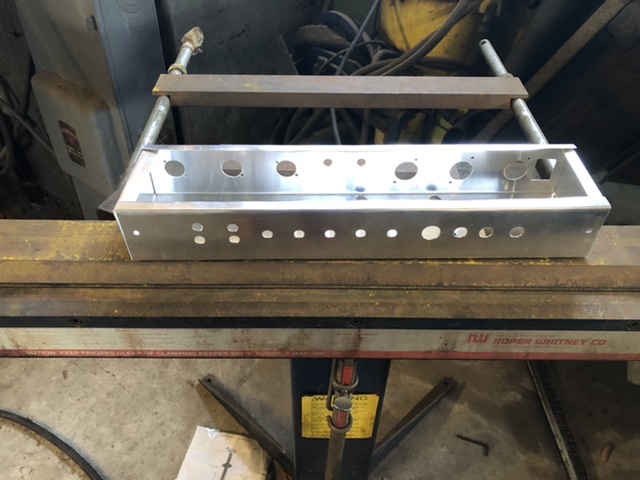
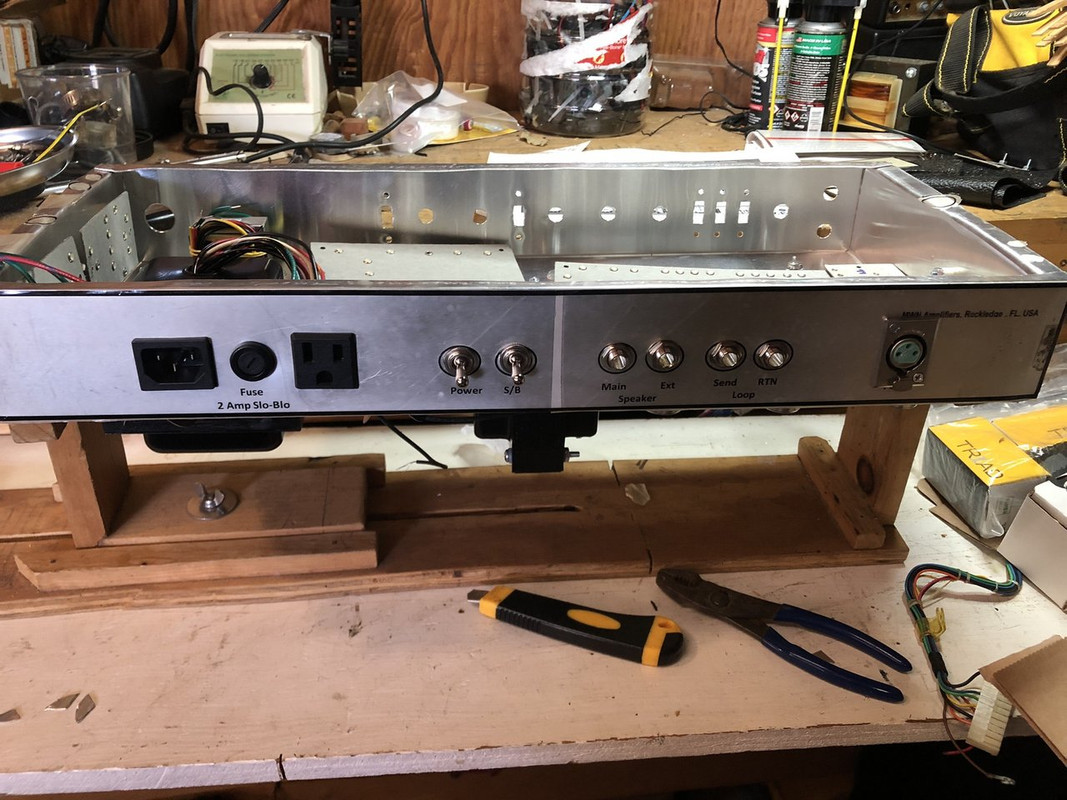
On the back panel, I like using press in IEC power connectors. I also use flush mount fuse holders (hate the Fender style ones that stick out and shear off) and a press in convenience socket. I don’t use the convenience socket much, but sometimes run an outboard reverb unit or an echoplex. Typical dual speaker jacks with a shorting main and a non shorting extension. I drilled and put in jacks for either preamp out or an effects loop, but I haven’t decided whether I will wire it up. Not a big loop user. Finally, an XLR chassis connector for a foot switch. I haven’t decided if I’m going to do just overdrive or add PAB (preamp boost?) as well. As you can tell, I’m keeping my options open as I stumble down this path.
Tim -
No, that’s good question. I said what I don’t do, not what I did.
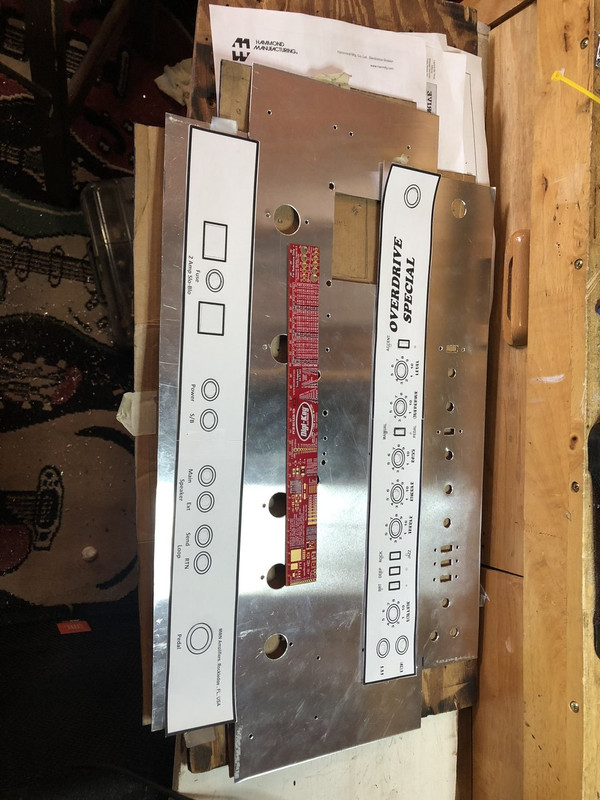
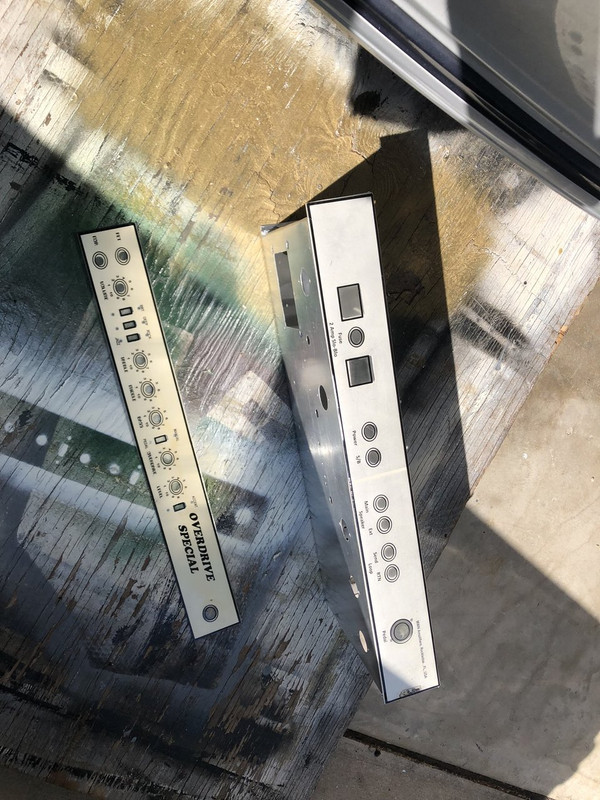
I painted the faceplate with off white spray paint. I printed out the lettering on full sheet stick on label material. Cut them to size and stuck them on the faceplate and the back of the chassis. Sprayed a couple of coats for clear coat over them for protection.
Because the sheets are 8x11”, you have to print them in two sections and carefully line them up. You only get one try at it. If you look closely you can see the seam.
When I do multiple amps of the same type, I go through the trouble of making a silkscreen, but for a one off like this, this method is quick and easy and looks ok if you don’t look too close.
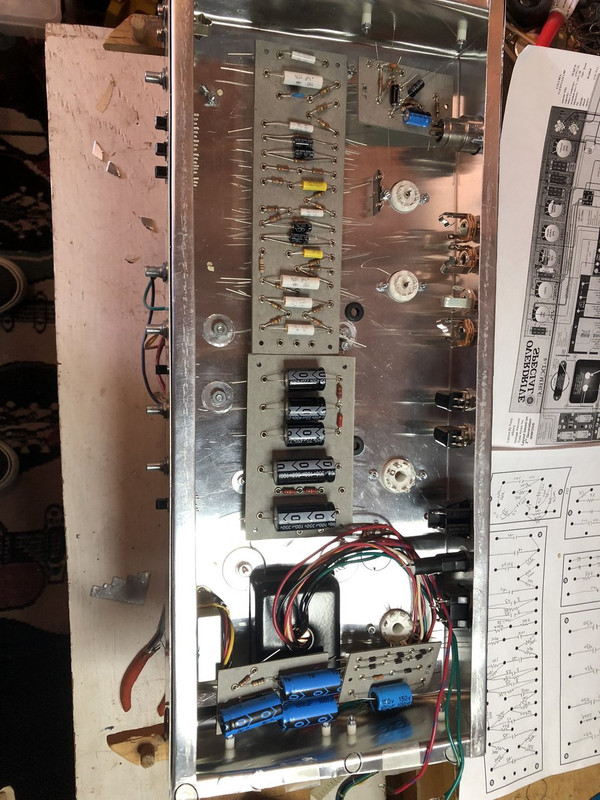
Time for the fun part to start. Populating the boards with components. Caps first.
It looks like folks here like orange drops, but I’m a Mallory 150 guy. No shade on the orange - I’ve used them and they’re great. I just bought 150’s in bulk years ago and I’m still working off my inventory. They have been dependable and sound good to me.
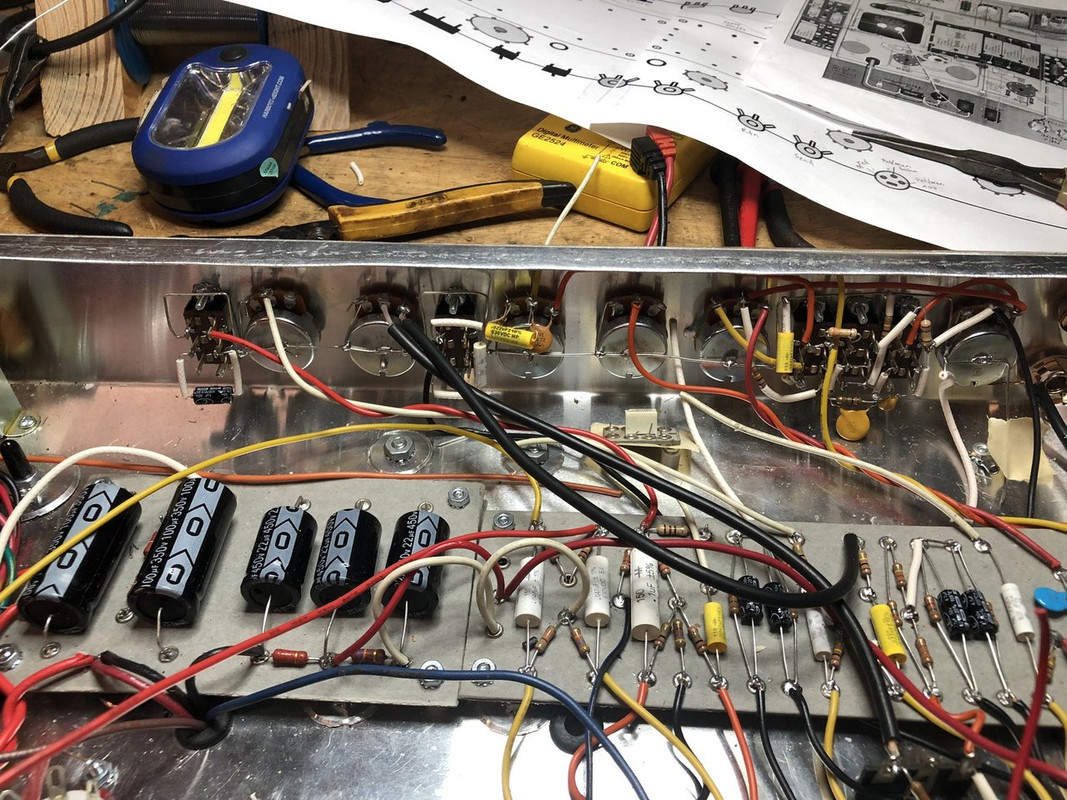
Loading up the rest of the boards. I have Koa Speer 1/2w carbon film resistors by the bunch load. I’ve always bought 100 of what ever value I needed and built up a good supply. This amp made me buy a bunch of values I’ve never used before. Pretty funny after building a lot of amps. 2.2k, 180k, 22k, 3.3k, 3.3m, 51k, 1.2m, 56. No worries, I have a lifetime supply now.
The CDE 1000uf 80v caps I bought for the relay power board are giant. Took me a little finagling to get them to fit.
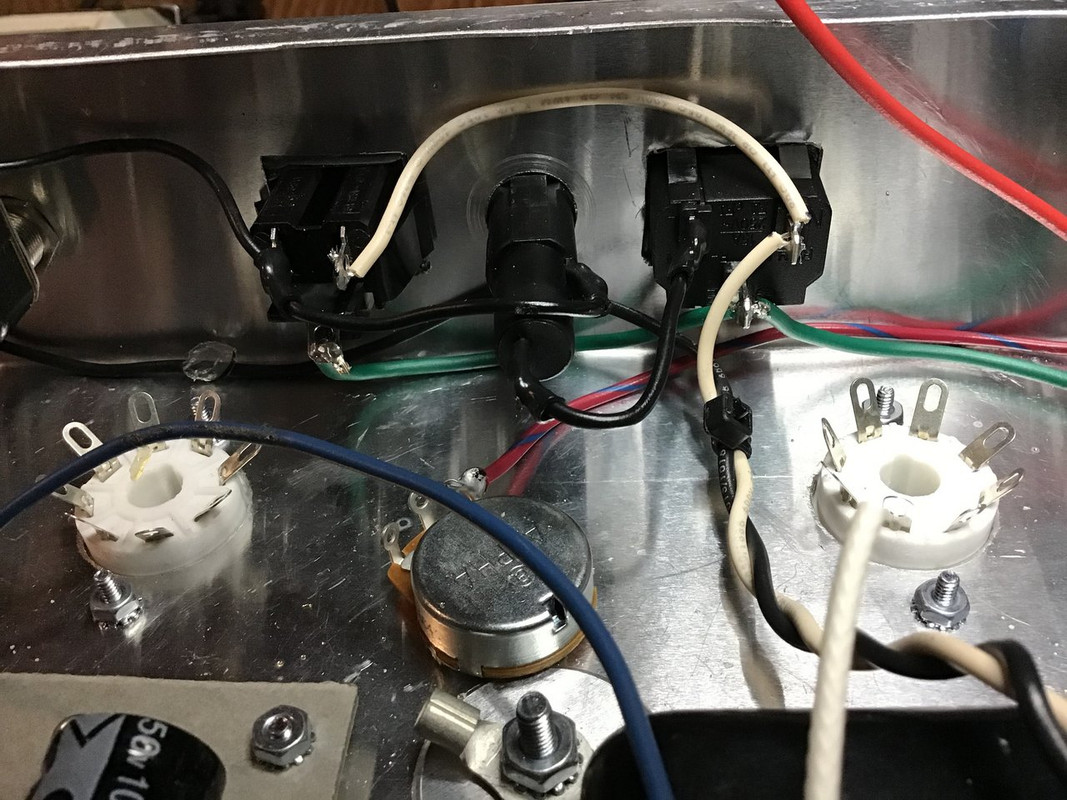
I like to wire my IEC with black hot covered with heat shrink to reduce the risk of “bites”. 120vac stings a bit. Ground (green) goes to a dedicated lug on the chassis.
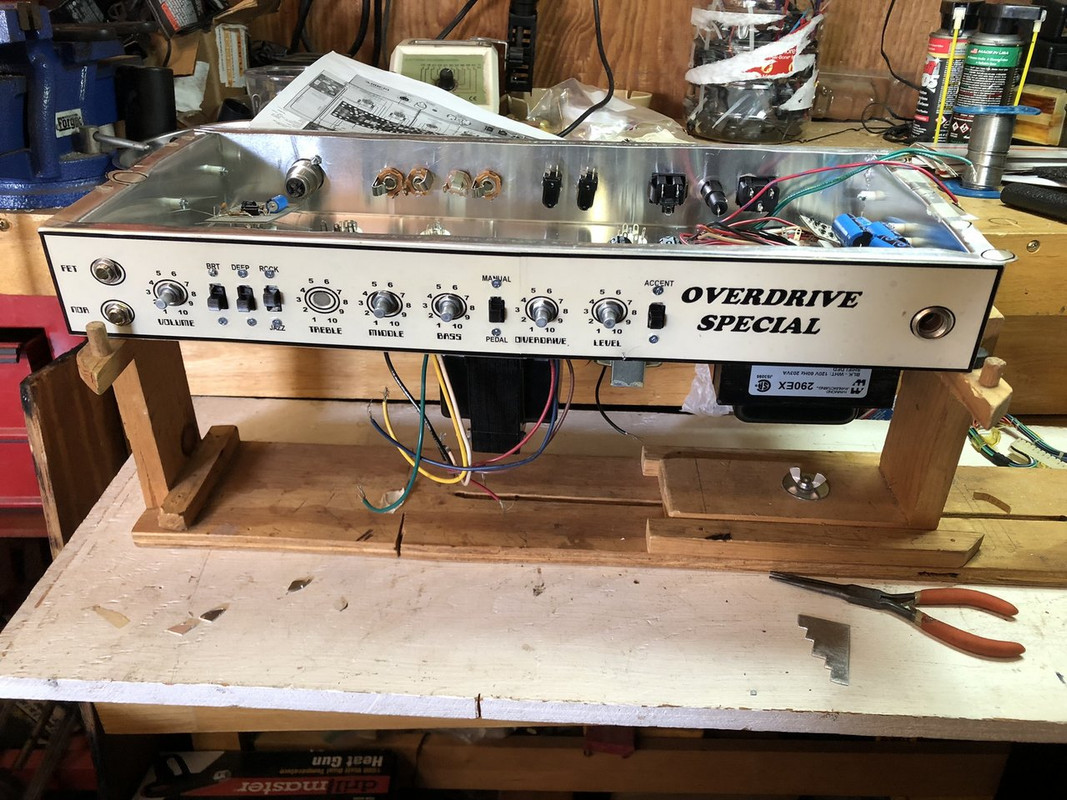
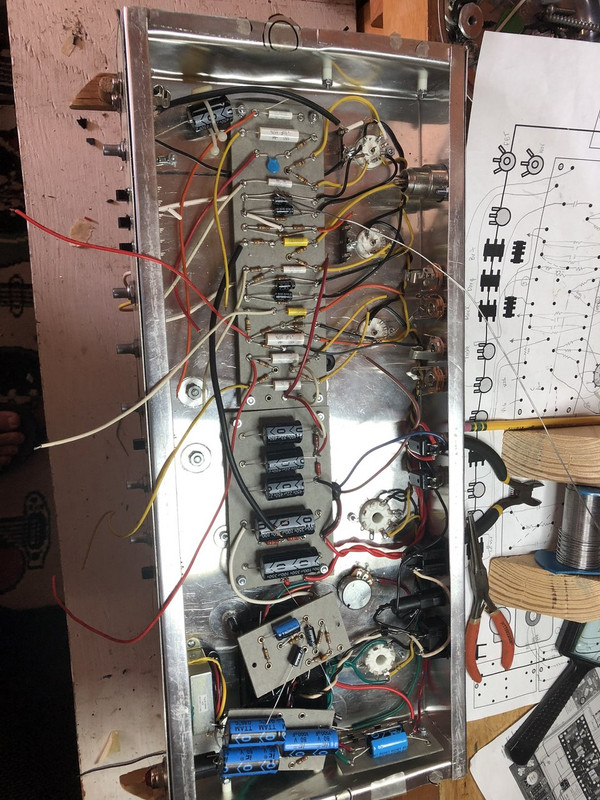
It always looks like mayhem when you throw the wired boards into the chassis. Time to make some sense of this chaos.