2nd Gen ODS 50 build - first try

Overdrive Special, Steel String Singer, Dumbleland, Odyssey, Winterland, etc. -
Members Only

Moderators: pompeiisneaks, Colossal

dbharris
Posts: 382
Joined: Mon Jan 11, 2010 4:55 am
Location: Orlando, FL

Re: 2nd Gen ODS 50 build - first try

Post by dbharris »

Looking good! I will be very interested to hear this one once it's up and running.

I was just doing a similar dance with Sprague caps on my relay power board. Made a mental note to order smaller caps next time :D

-Dan
Mattbedrock
Posts: 24
Joined: Mon Sep 09, 2013 1:32 am
Location: East Central FL

Re: 2nd Gen ODS 50 build - first try

Post by Mattbedrock »

Hey Dan -
I’m just to the east of you, over by the Space Center.

Yeah, the schematics called out 50v/1000uf, so when I saw 80’s, I said sure, bigger is better on voltage. But it’s tight, especially with the indicator light. You learn a lot on a first time through a new design.

Here’s most of the tube side wiring done.
Image
Lots of shielded wiring in this design. ‘Wrecks and Hiwatts I’ve built had some, but there’s plenty here. I’m used to grounding the shield at the control side, but this layout grounds some at the tube side. I’m not sure it matters much as long as it grounded on one end or the other.

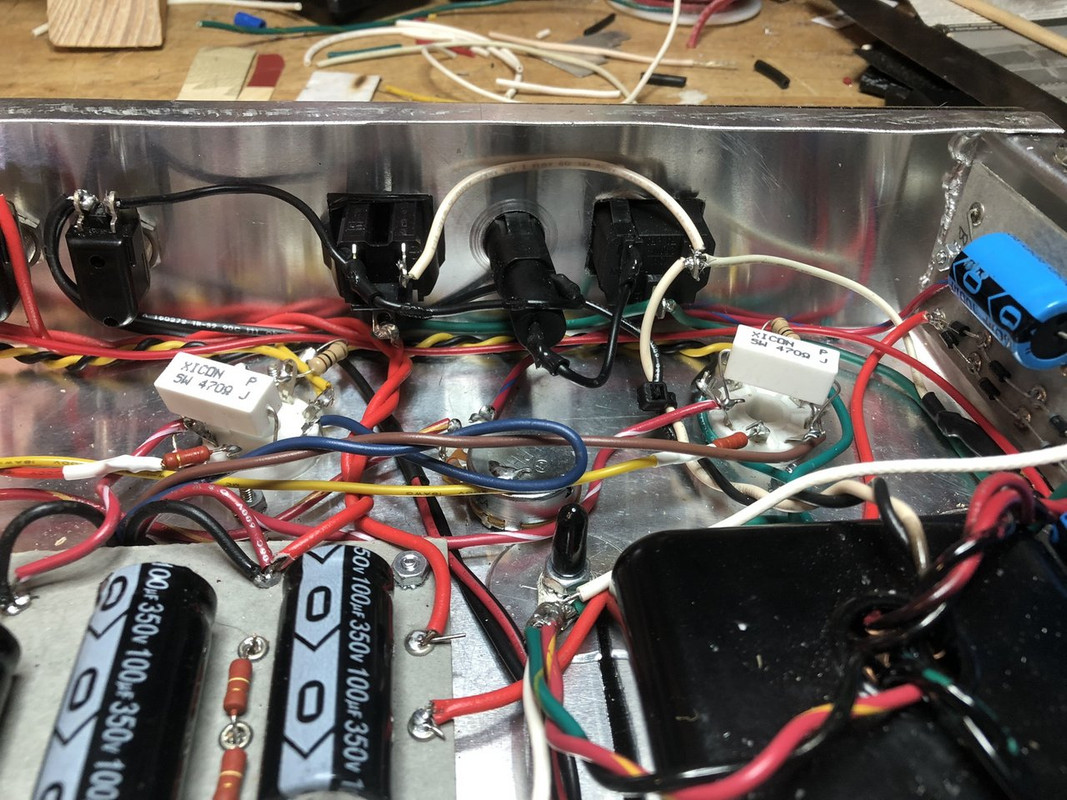
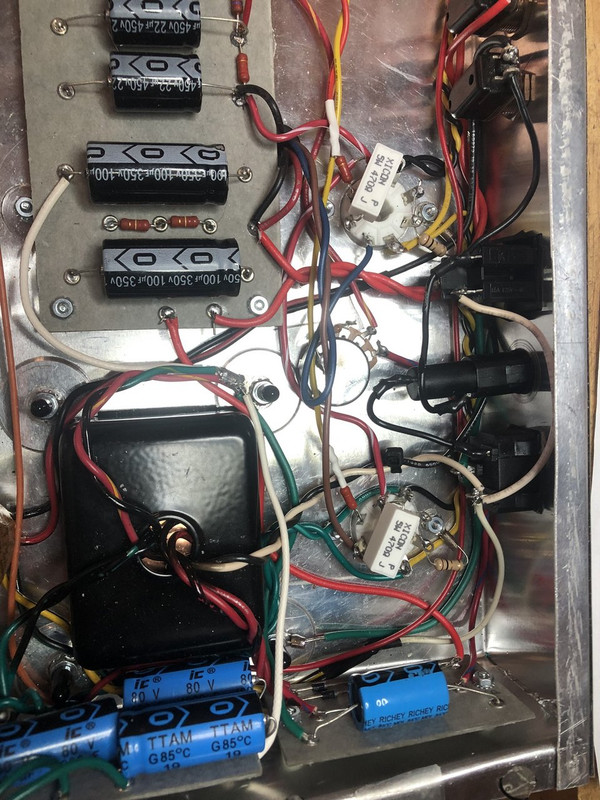
Here’s a closeup of the power tubes.
Image
Image

I took a few liberties here. I like to hang my cement blocks (Xicon 470/5w) on pins 4&6 and add some 1 ohm/2w resistors on 8&1 to ground so I can quickly check bias without plugging in a bias adapter.
Matt
dbharris
Posts: 382
Joined: Mon Jan 11, 2010 4:55 am
Location: Orlando, FL

Re: 2nd Gen ODS 50 build - first try

Post by dbharris »

Very cool! My wife's family is in Merritt Island, it's nice over there.
Mattbedrock
Posts: 24
Joined: Mon Sep 09, 2013 1:32 am
Location: East Central FL

Re: 2nd Gen ODS 50 build - first try

Post by Mattbedrock »

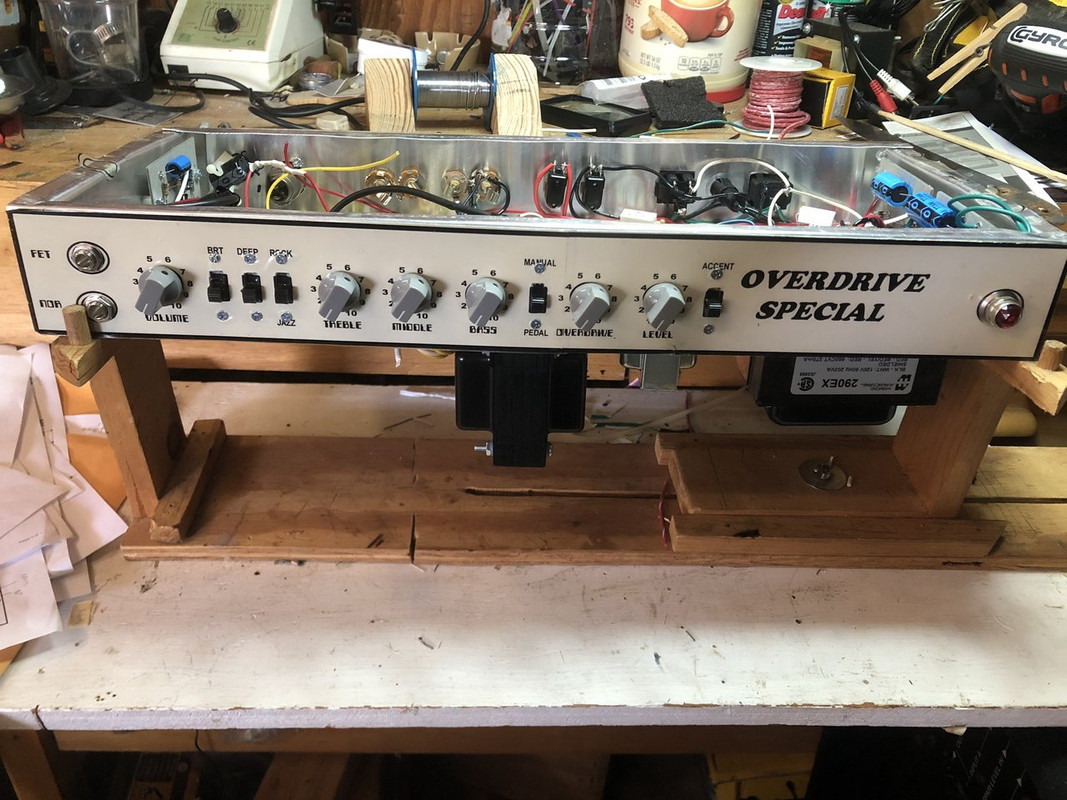
Ok, I have the basic amp pretty much done.

Image

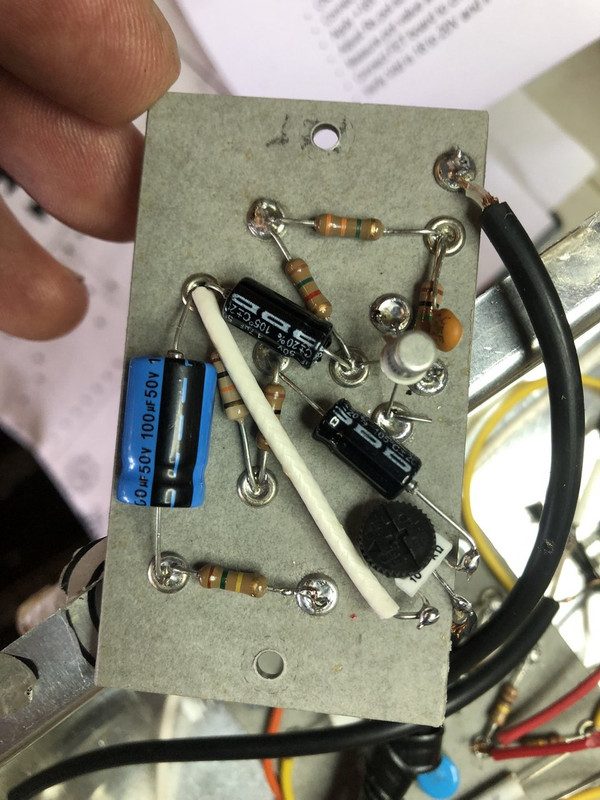
I have the FET preamp done but not wired in yet. And I have one relay installed for overdrive but no PAB relay yet. Foot switch and effects loop are also not connected.

Image

Image

Time to get out the lightbulb limiter and my primitive test equipment. Load up some tubes and fire things up!
Matt
Mattbedrock
Posts: 24
Joined: Mon Sep 09, 2013 1:32 am
Location: East Central FL

Re: 2nd Gen ODS 50 build - first try

Post by Mattbedrock »

I hooked up the chassis to the light bulb limiter and started my checkout process. Before I even flip a switch, I check the AC in to be sure I have polarity right and have fused the positive. (Don’t laugh, I’m serious). Also be sure that I have AC through to the power switch. No tubes in it yet, just checking power.

Flipping the power switch on, a brief flash (the 100/350’s are on the power side before the standby), then dimmest glow. Checked filament voltage to each tube socket. Also checked relay power supply output. All good.

Flipping standby, another flash, a bit longer charging the 22uf’s, but then a gradual glow getting brighter and brighter. Shut it down. Something is not right. $#/+.

Found the problem rather quickly. I used the #124 chassis layout as a guide to my dimensions, including relative positions of the power supply board and the output transformer mounting bolts. On Fenders, the power supply board is on the other side under the doghouse.And the main board is centered between the OT mounting bolts. On this layout, the OT and board are offset and two of the OT mounting bolts and nuts are under the edge of the board and two are not.

Just my luck that one bolt/nut is directly under the hot side connection of 22uf #2. You can clearly see it in the picture in the last post. In retrospect. My 1/4” board spacers just aren’t high enough to give adequate clearance. Clean short to ground.

The fix took a while to disassemble things, lower the OT bolt head with a washer and raise the board with a washer under the mounting spacer. Next time, I am going to relocate the OT mounting bolts to straddle the board.

That, my friends, is why you use a light bulb limiter. Minor setback. No one was killed.
Matt
Mattbedrock
Posts: 24
Joined: Mon Sep 09, 2013 1:32 am
Location: East Central FL

Re: 2nd Gen ODS 50 build - first try

Post by Mattbedrock »

Now I have power straightened out. B+ flowing through all nodes (except the FET board is disconnected), plenty of negative bias voltage and heaters at every tube socket.

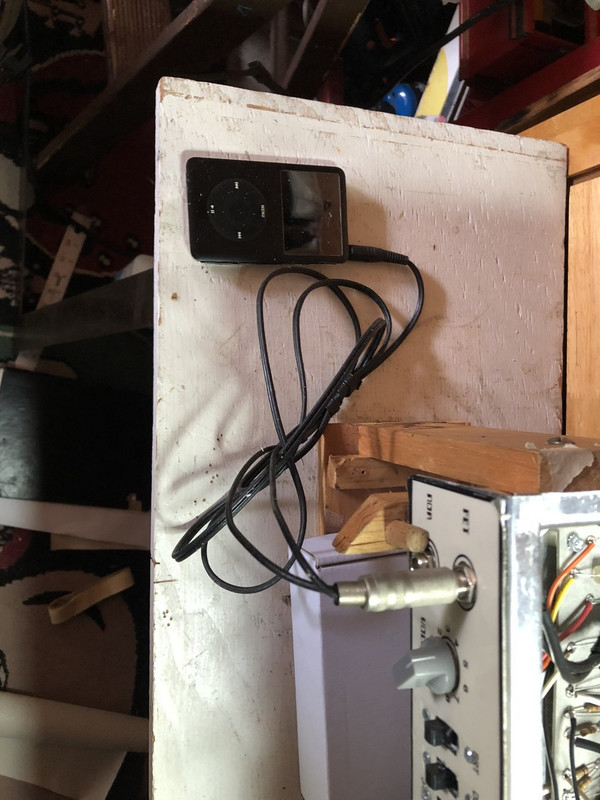
My next step is to install preamp tubes and use my fancy test equipment to trace the circuit from input jack to power tubes pin 5. Here’s my signal generator:
Image

And here’s my signal tracer:
Image
It’s a pen body with a coupling cap inside soldered to a nail. The shield connects to the alligator clip to the chassis and the lead goes to a plug. I plug it into a mini Marshall amp that I broke the volume knob off of, so it’s always at full volume (like any Marshall should be). So put you schematic and layout in front of you and trace the signal through each tube and control. The problems are obvious - where the signal stops, you screwed up. You can also check that each volume and tone control works as expected. Because the foot pedal isn’t hooked up yet, I’m using the front panel manual switch to engage the overdrive.

I found surprisingly few problems tracing through the circuit. A bad wire with an intermittent short. I screwed up the polarity on the relay power line. I chopsticked the hell out of the circuit and found a few shitty solder joints. Otherwise, right on plan.

Time to install power tubes. At this point, you have to hook up to a speaker cab (or other load) to avoid killing you OT.
Always a dramatic moment. Flip the switch and… No hum, no buzz, no hiss. But it is alive! It works, it’s loud and all basic controls work as I expect. I’ll assess tone and nuances later, but I have a working amp.

I tweaked the bias from max cold (27.4) to 40/43. I’ll fine tune that later.

Now it’s time to consider next steps.

Image
Matt
dbharris
Posts: 382
Joined: Mon Jan 11, 2010 4:55 am
Location: Orlando, FL

Re: 2nd Gen ODS 50 build - first try

Post by dbharris »

Congratulations!
Mattbedrock
Posts: 24
Joined: Mon Sep 09, 2013 1:32 am
Location: East Central FL

Re: 2nd Gen ODS 50 build - first try

Post by Mattbedrock »

While I’m contemplating what to do next, I might as well start on a head cab. Considered building it as a combo, but I’ve got space problems. I have both birch ply and pine, but I’m going with pine. Easy to'work and light weight.

Image
Harbor Freight jig for box joints.

Image

Image

Time to get out the wood glue.
Matt
Mattbedrock
Posts: 24
Joined: Mon Sep 09, 2013 1:32 am
Location: East Central FL

Re: 2nd Gen ODS 50 build - first try

Post by Mattbedrock »

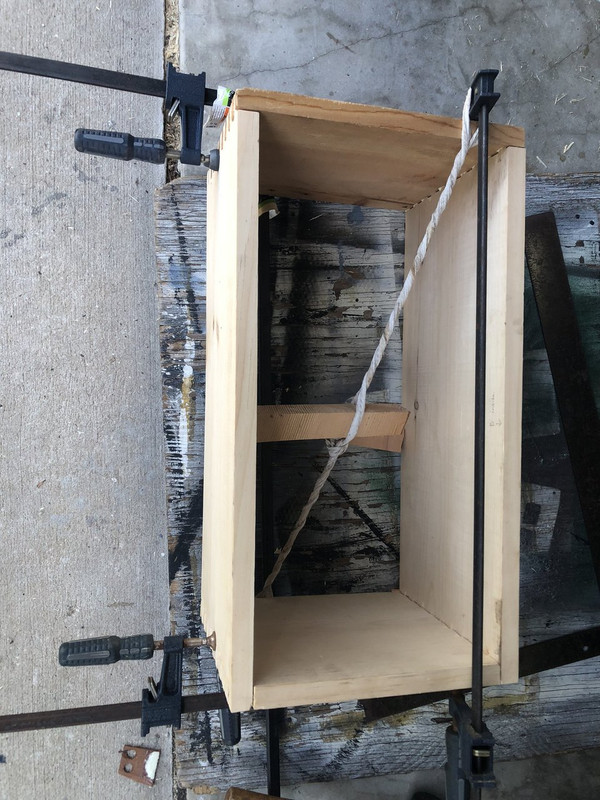
It may look a little bizarre, but my brother taught me this winch method of ensuring your box is square. Use a t square to measure and wind the winch to make it close while the glue dries. He’s good with wood.

Image
Matt
User avatar
romberg
Posts: 502
Joined: Wed Nov 28, 2007 6:10 am
Location: Lafayette, CO
Contact:

Re: 2nd Gen ODS 50 build - first try

Post by romberg »

Very cool build! Thanks for sharing all the details of each step along the way.

Mike
Mattbedrock
Posts: 24
Joined: Mon Sep 09, 2013 1:32 am
Location: East Central FL

Re: 2nd Gen ODS 50 build - first try

Post by Mattbedrock »

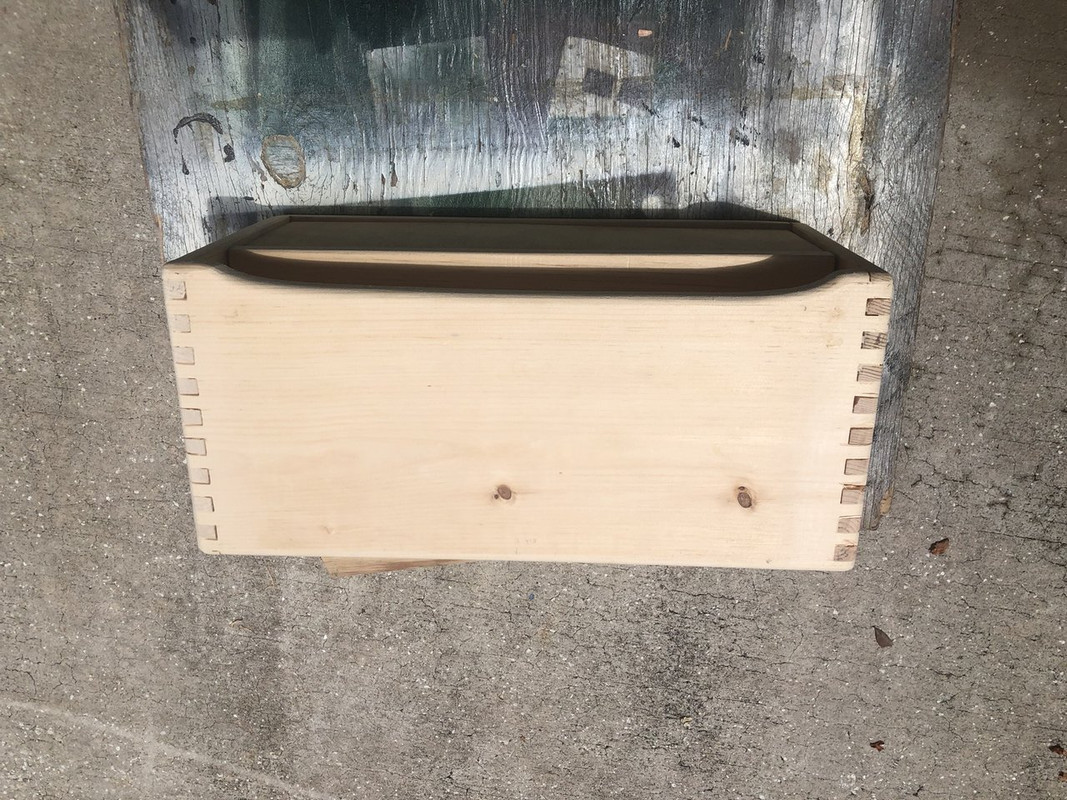
Roundover bit and a power sander smoothed things out a bit.

Image

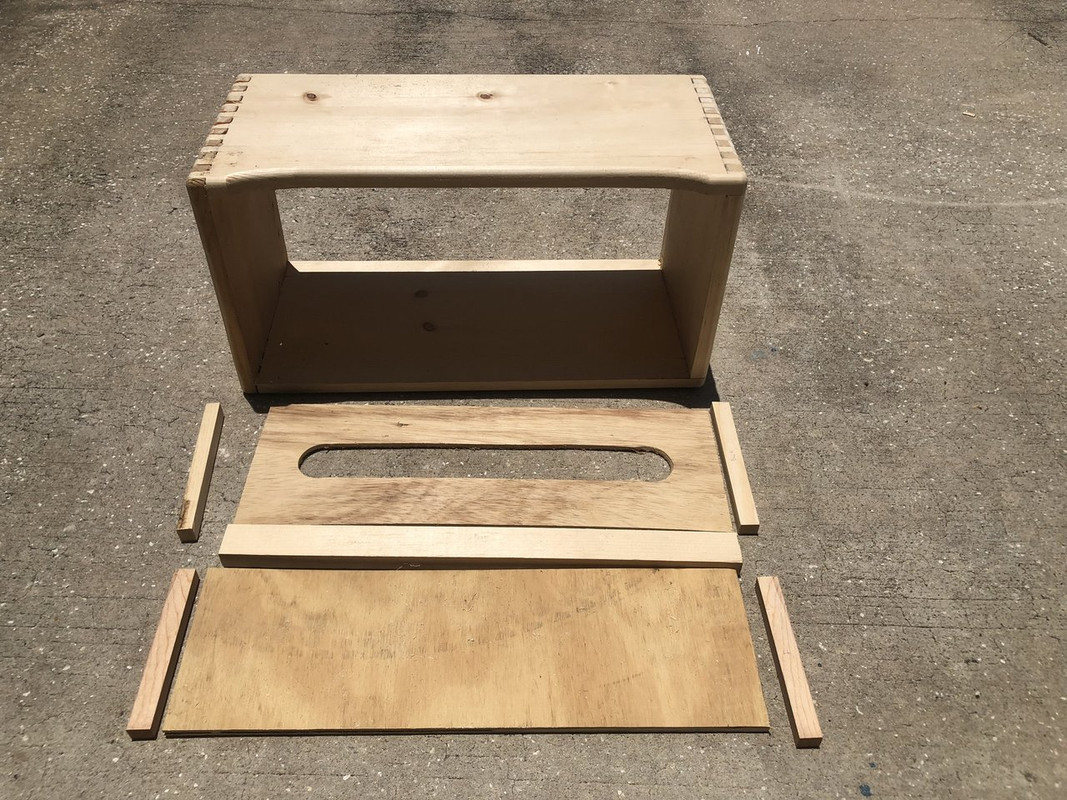
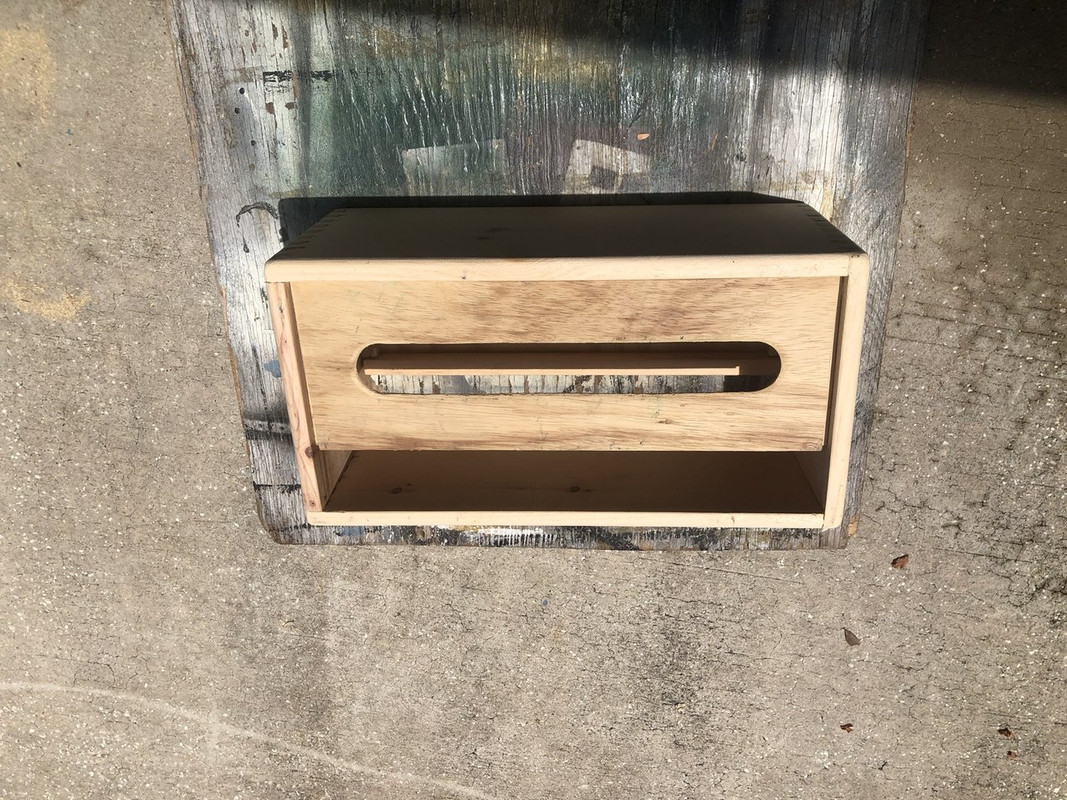
Cut out the front and back panels, the little shelf part and some internal mounting braces.
Image

To try to make the hole in the back panel roughly symmetrical, I use a hole saw to cut each end and then connect the two holes together with a sabersaw. I made it 2” wide so my foot pedal would fit inside.

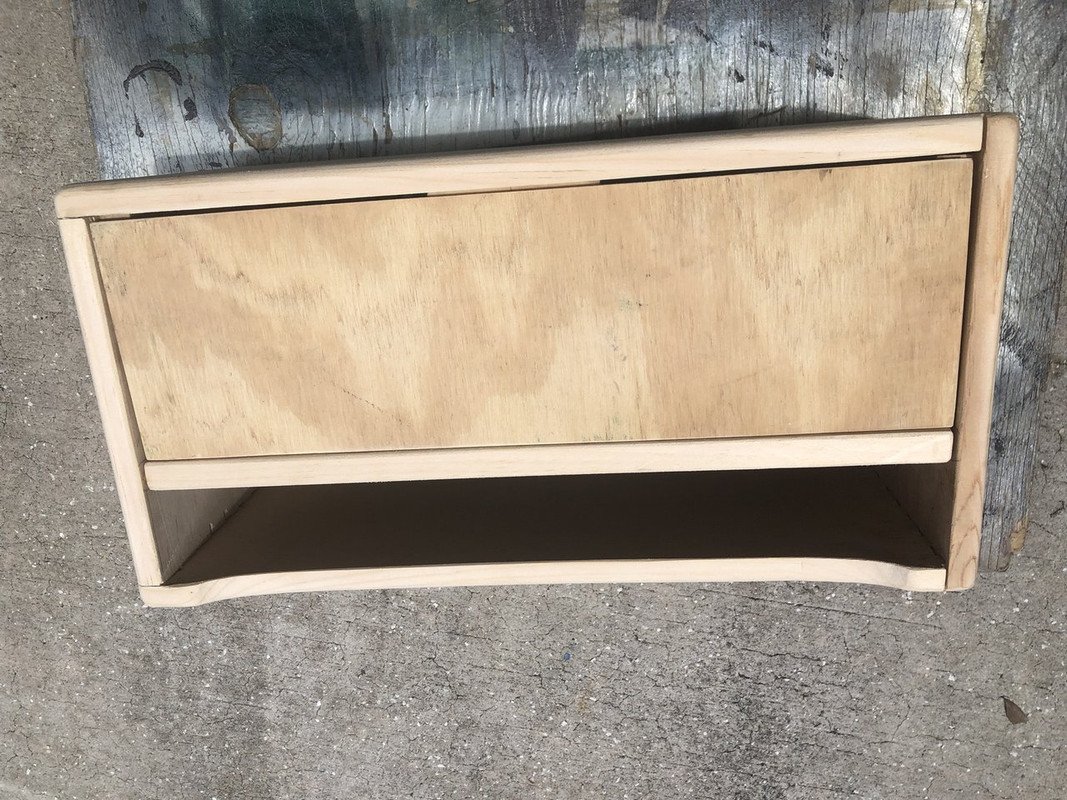
The front:
Image

The back:
Image

Oops, the pics are upside down. But you get the idea. I left some space for grill cloth and tolex. Next up - tolex time.
Matt
Mattbedrock
Posts: 24
Joined: Mon Sep 09, 2013 1:32 am
Location: East Central FL

Re: 2nd Gen ODS 50 build - first try

Post by Mattbedrock »

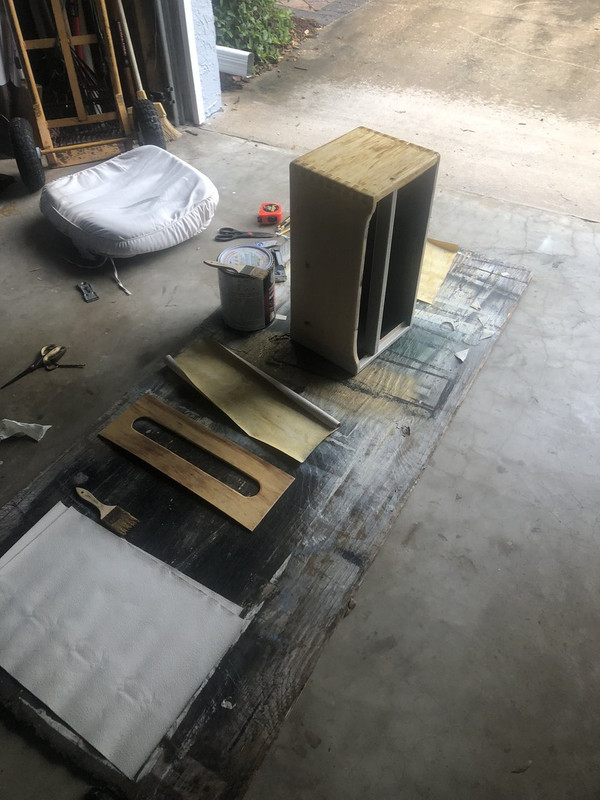
Boy, it’s getting pretty hot and steamy here in Florida, but I’m going ahead with tolexing. Before that, I painted the inside of the cab and the front panel flat black. I like to seal up the wood and I think grillcloth looks better over a black background.

Image

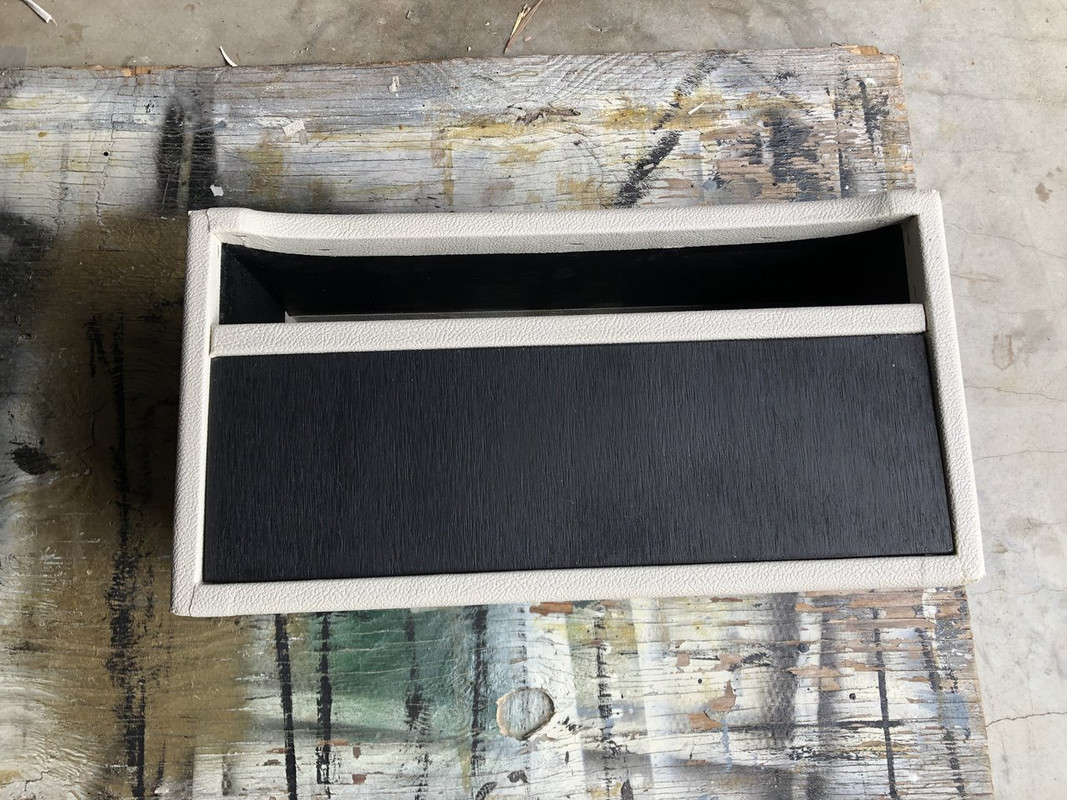
I measure and cut all the pieces out first. I’m doing this like I’d do a Fender. Sides first and then top and bottom overlapping with the sides. I was improvising a bit on the little front shelf thingy. I wrapped it and stapled the back and tucked the ends in from the outside.


Image

Image

Image


Tolex can be source of joy or despair. I’ve gotten enough experience at it to have more of the former. Just some assembly work and grillcloth left before the cab is done.
Matt
Mattbedrock
Posts: 24
Joined: Mon Sep 09, 2013 1:32 am
Location: East Central FL

Re: 2nd Gen ODS 50 build - first try

Post by Mattbedrock »

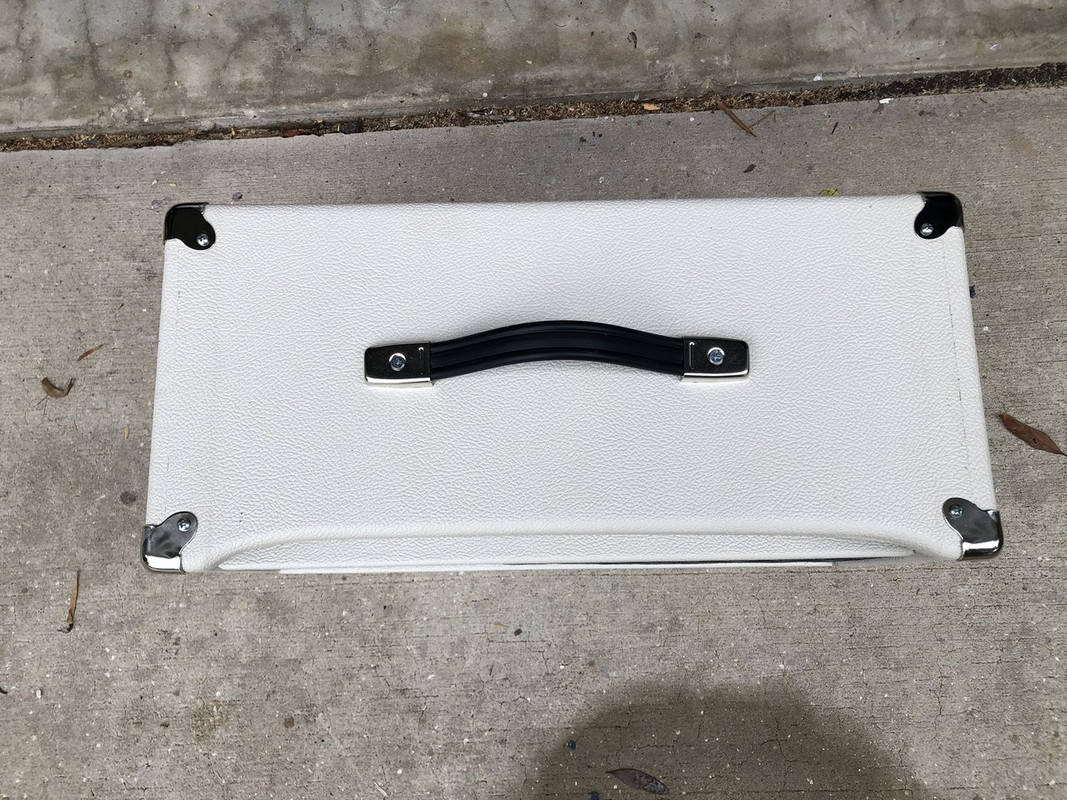
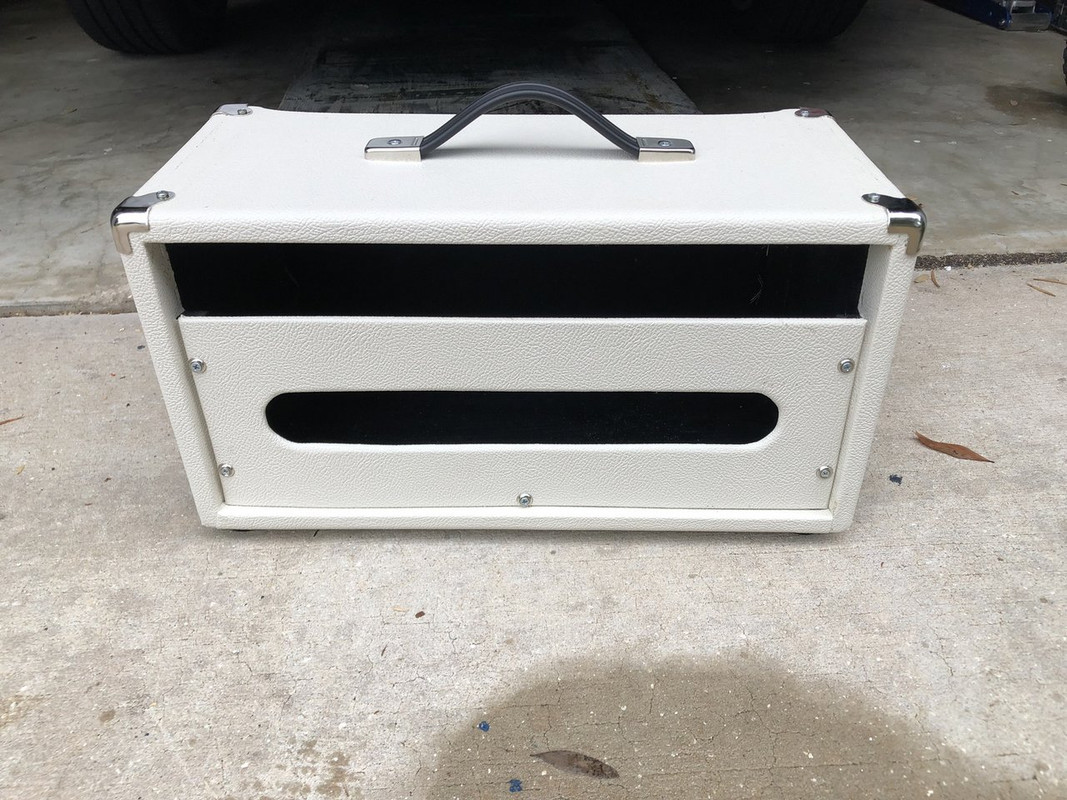
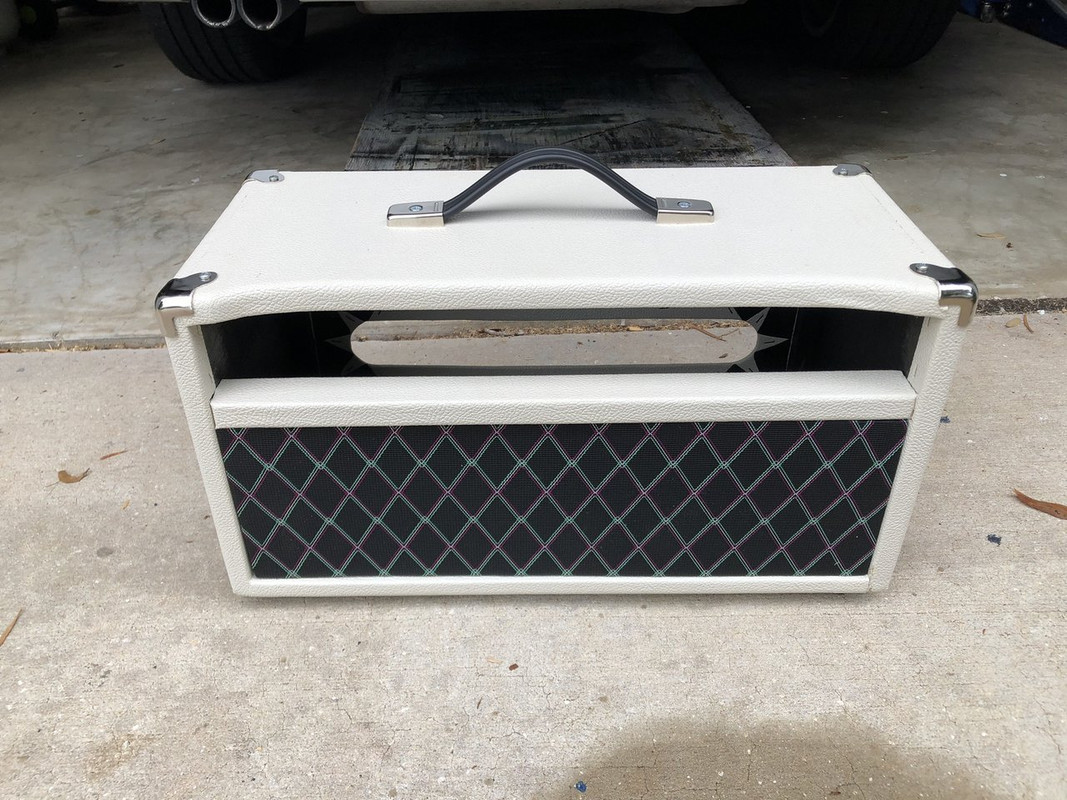
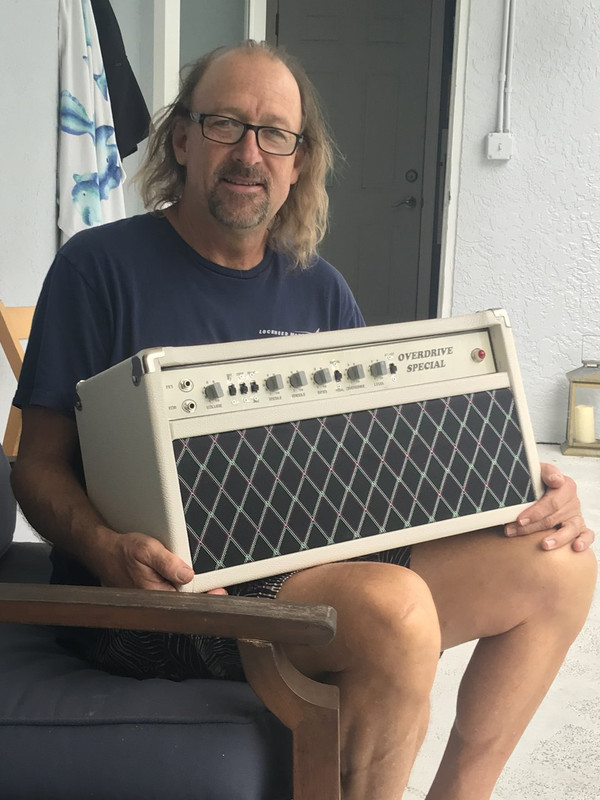
Finished up the head cab.

Image

Image

Image

I’m pleased with how it turned out. I did buy white piping for around the grill cloth, but I don’t like how the bright white piping looks with the cream colored tolex I used.

Now I need to go back to the chassis and finalize the electronics.
Matt
dbharris
Posts: 382
Joined: Mon Jan 11, 2010 4:55 am
Location: Orlando, FL

Re: 2nd Gen ODS 50 build - first try

Post by dbharris »

Looking sharp! Interested in hearing your impressions of this build once you get it settled.

-Dan
Mattbedrock
Posts: 24
Joined: Mon Sep 09, 2013 1:32 am
Location: East Central FL

Re: 2nd Gen ODS 50 build - first try

Post by Mattbedrock »

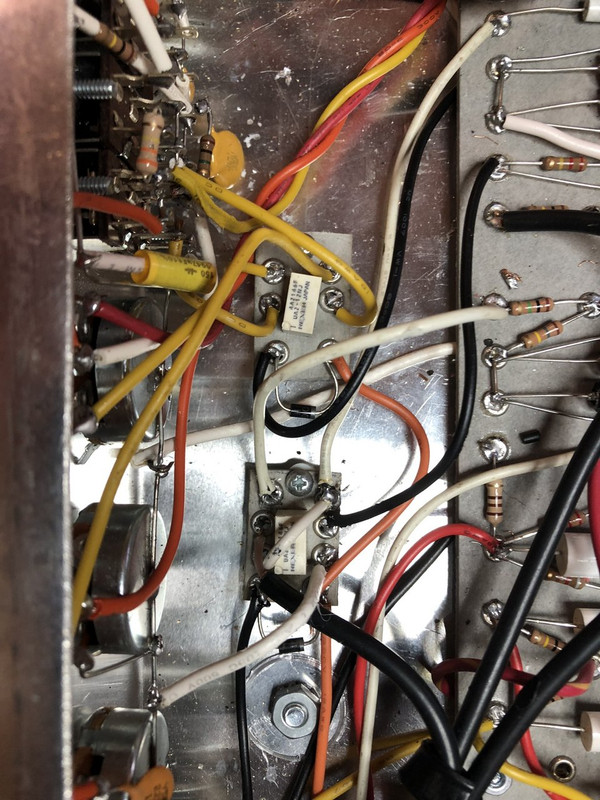
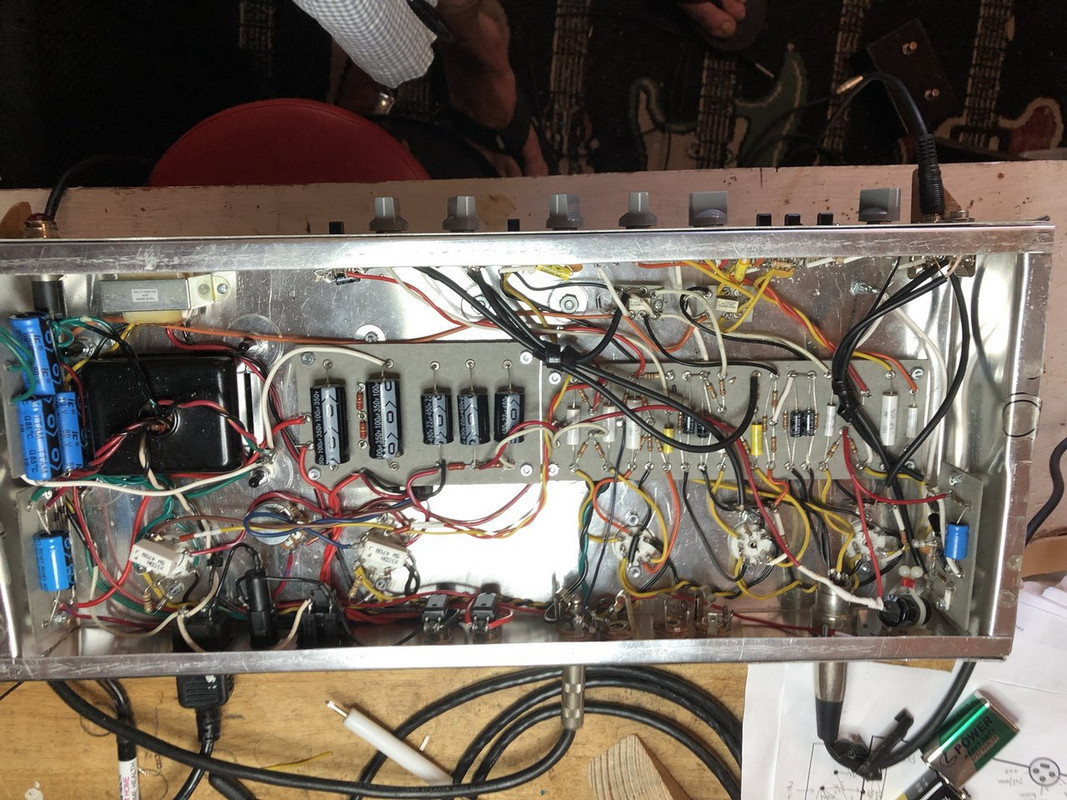
I’ve made some final (hah!) decisions on the electronics. I’ve decided to add a second relay for PAB. While the baseline second gen I’ve mostly used didn’t have one, the wiring seems simple enough.

Image

Image

This also forces me to finalize my foot switch decision. Because I’m using a 3 pin XLR, I’m going with a 2 button foot switch with no leds for status. I did run the led power line over to the switch but just capped it off (heat shrink) in case I change my mind in the future. I made a quick custom cord with an XLR on one end and a TRS 1/4” on the other.

Image

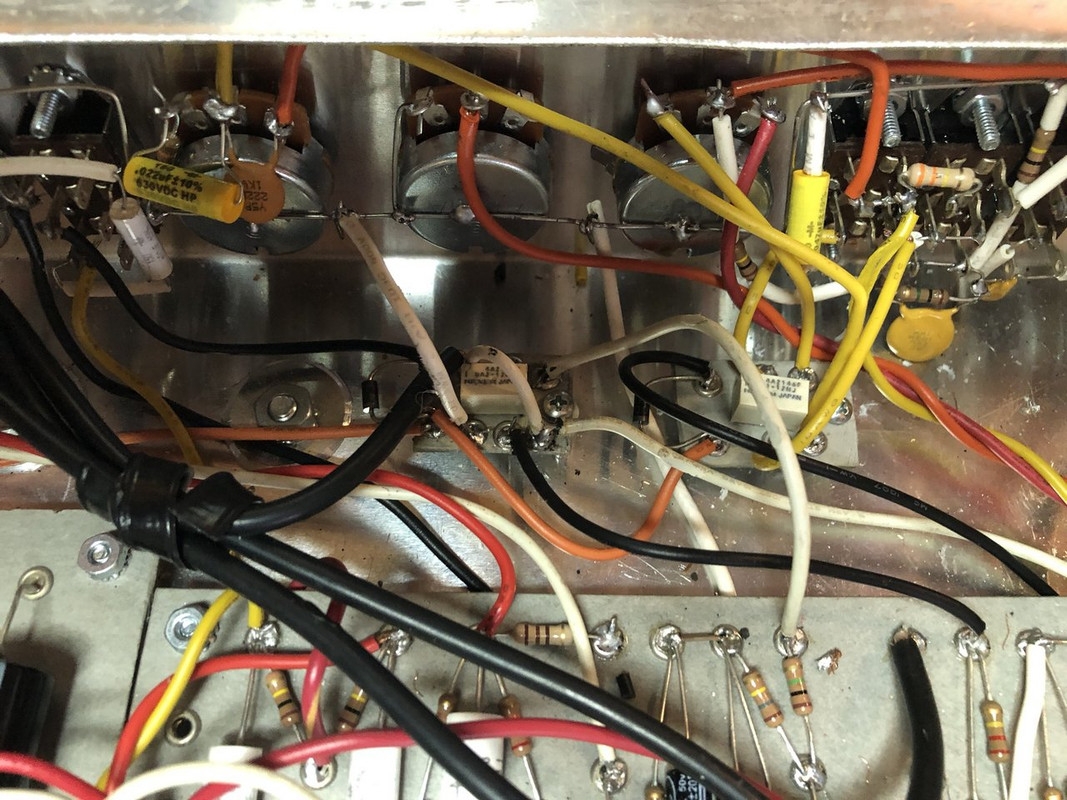
The final overlook of the chassis is pretty messy looking, but the amp is dead quiet. No noticeable hum and only a bit of hiss in overdrive mode with the levels way up. I was expecting to have to move wires around like I did on my ‘Wreck builds. Sometimes it’s better to be lucky than good. If it ain’t broke…

Image

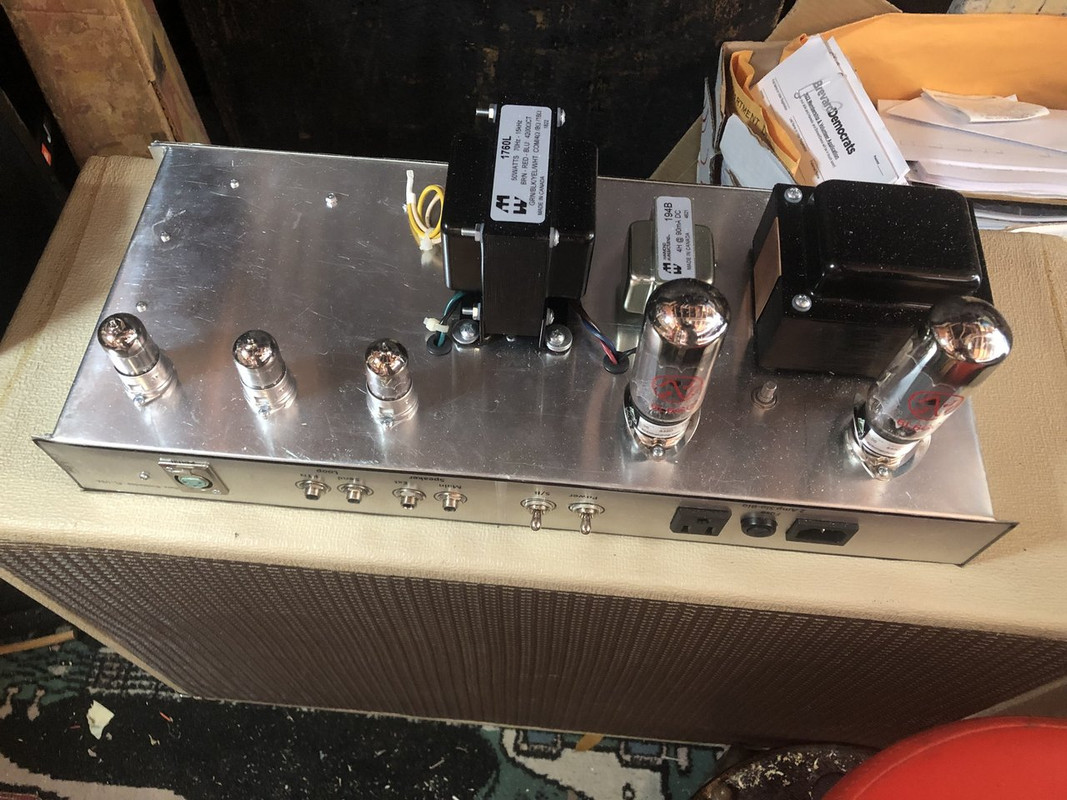
I started the amp up with a set of psvane 12ax7’s, but I’m sure I won’t stay that way, especially for V1. I setup the FET somewhat unbalanced so there’s a bit of grit to it. I set the level so that single coils approximate the level of humbuckers in the normal channel.

Image

Time to start playing it, rolling some tubes and tweaking some knobs.
Matt
Post Reply