I'm new to this forum and to tube amps (been dabbling in electric guitar build and effects pedals for years)
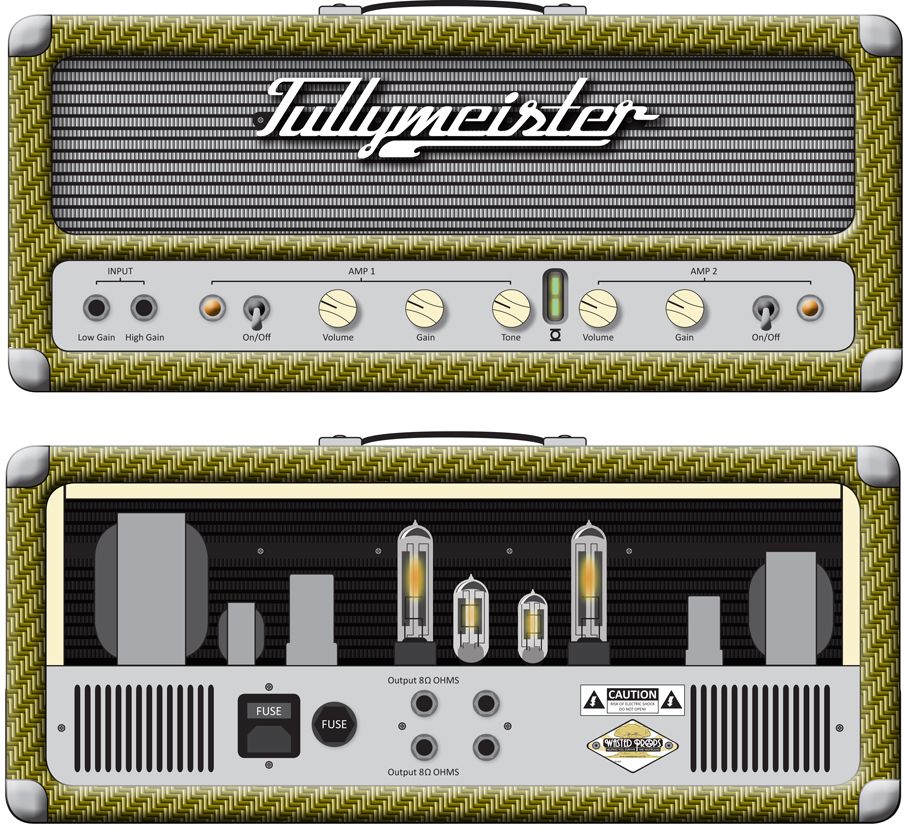
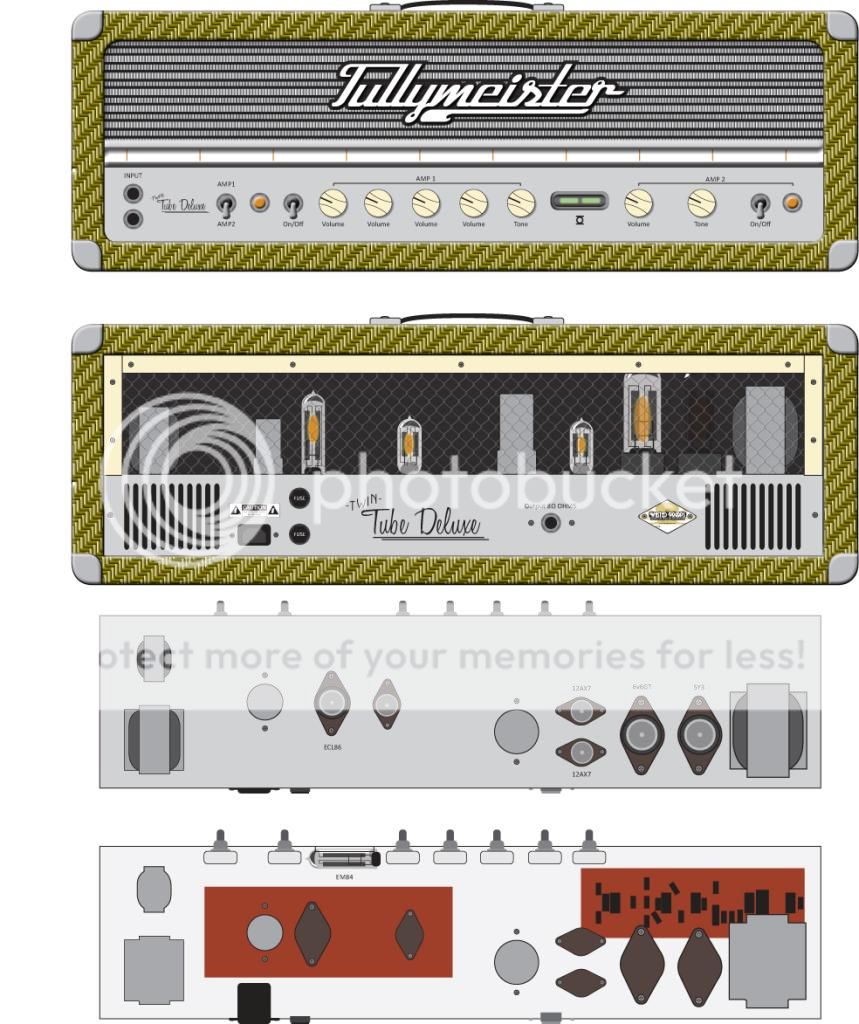
I'm about to start building a vintage style tube head with a few different parts scavenged from various places.
[IMG:905:837]http://i1275.photobucket.com/albums/y45 ... d89900.jpg[/img]
this is the lowdown so far...
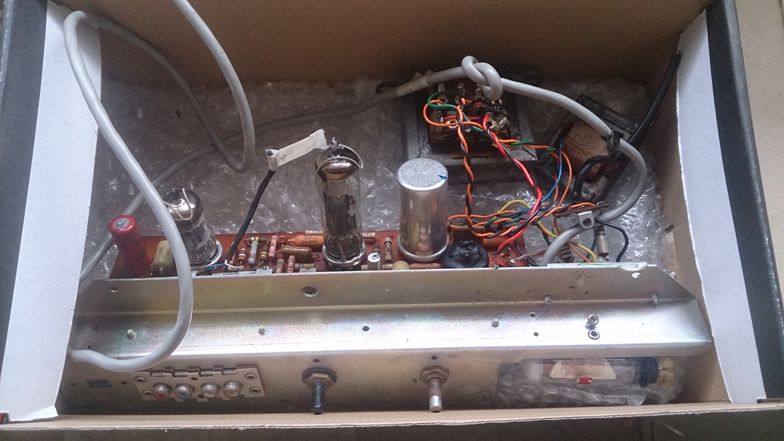
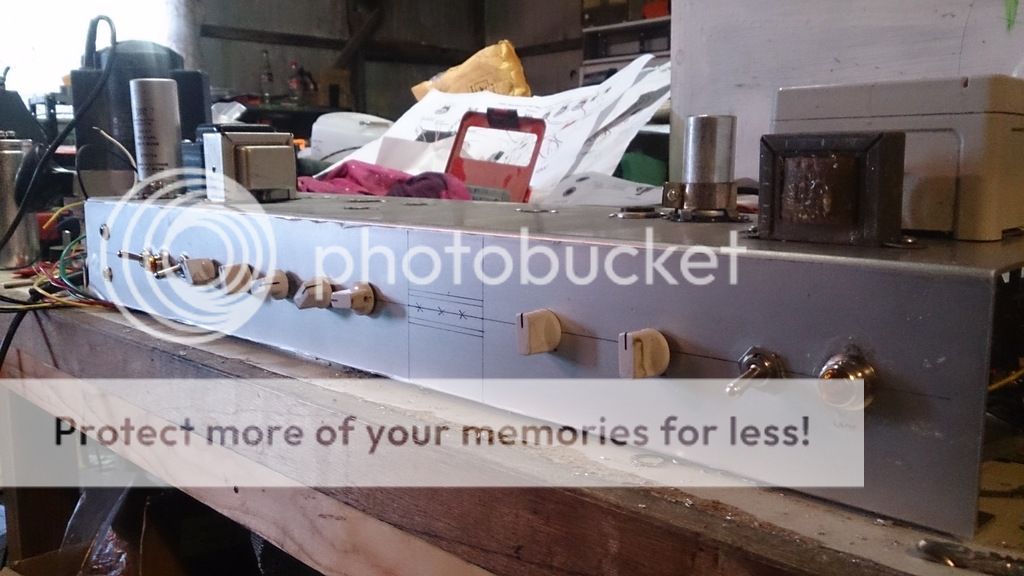
bought a half finished project off ebay, a ECL86 valve amp with a EM84 magic eye... I plan to couple this with another 6v6 rectifier tube amp I'm buying off another bloke to run a twin amp head.
[IMG:784:441]http://i1275.photobucket.com/albums/y45 ... ef10a0.jpg[/img]
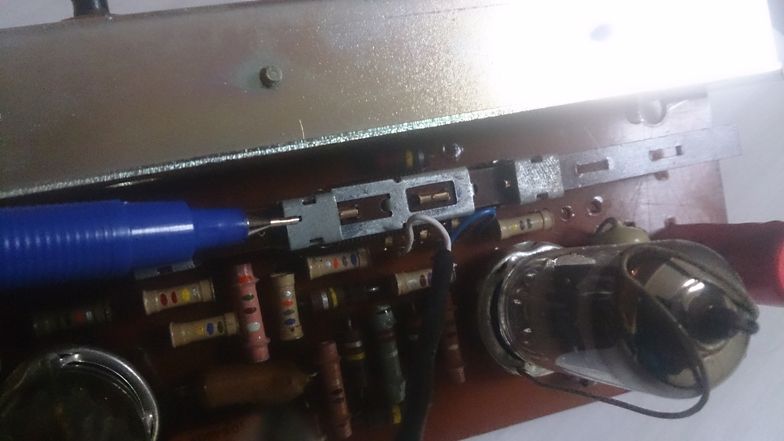
[IMG:784:441]http://i1275.photobucket.com/albums/y45 ... 659ac2.jpg[/img]
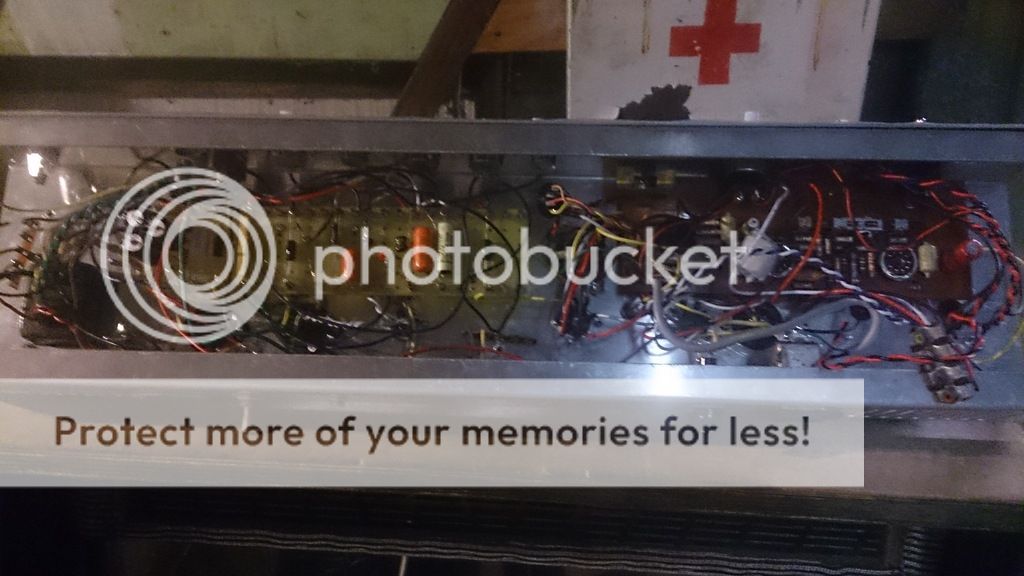
6v6 amp
[IMG
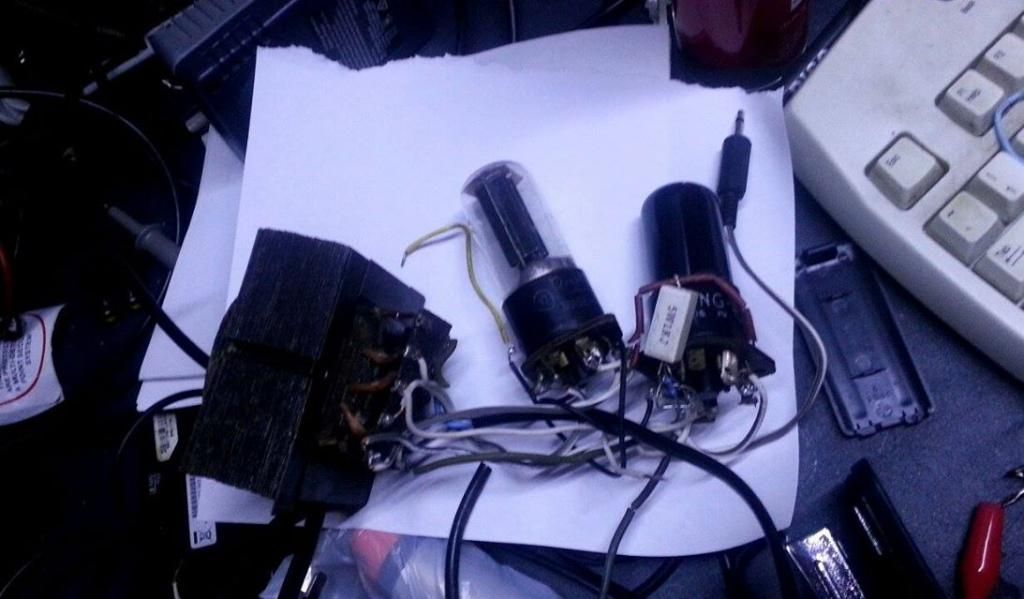
 599]http://i1275.photobucket.com/albums/y45 ... 98d6c.jpeg[/img]
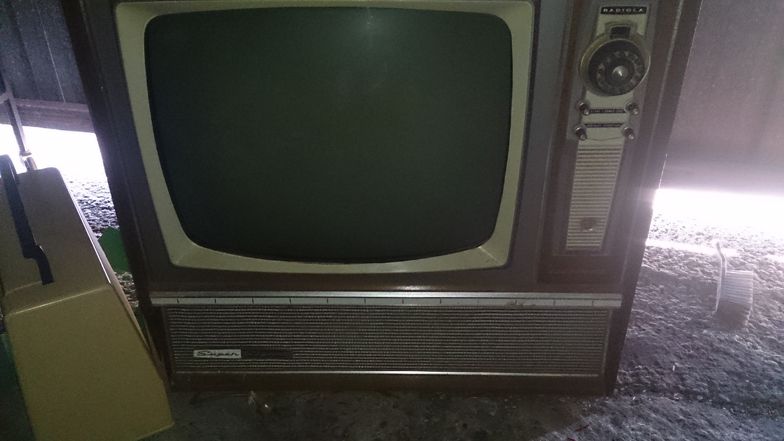
I plan to use vintage parts I scavenged off this 1950's radiola TV.
[IMG:784:441]http://i1275.photobucket.com/albums/y45 ... fdd411.jpg[/img]
it'll have a clean channel (6v6) and a vintage gain channel (EM84) inside the same head.
I may need some guidance along the way, but the main thing that has been eating me is if I should have the option to combine the two channels as well...? using the 6V6 essentially as an additional preamp for the EM84.
The hard part will be not having schematics of the two amps, I've looked and looked for the type of amp the EL34 is, but all I think i could find was it's possibly a westinghouse console amp.??? unlees someone could shed more light.?
thanks in advance guys.
Jas.


