I can recall as a kid that I got a wood burner for Christmas and quickly discovered I was much better at soldering with it than I was creating anything artistic. So I figure they probably operate at similar temperatures. You would probably need a chisel point tip to imitate the style used in wood burner tool.
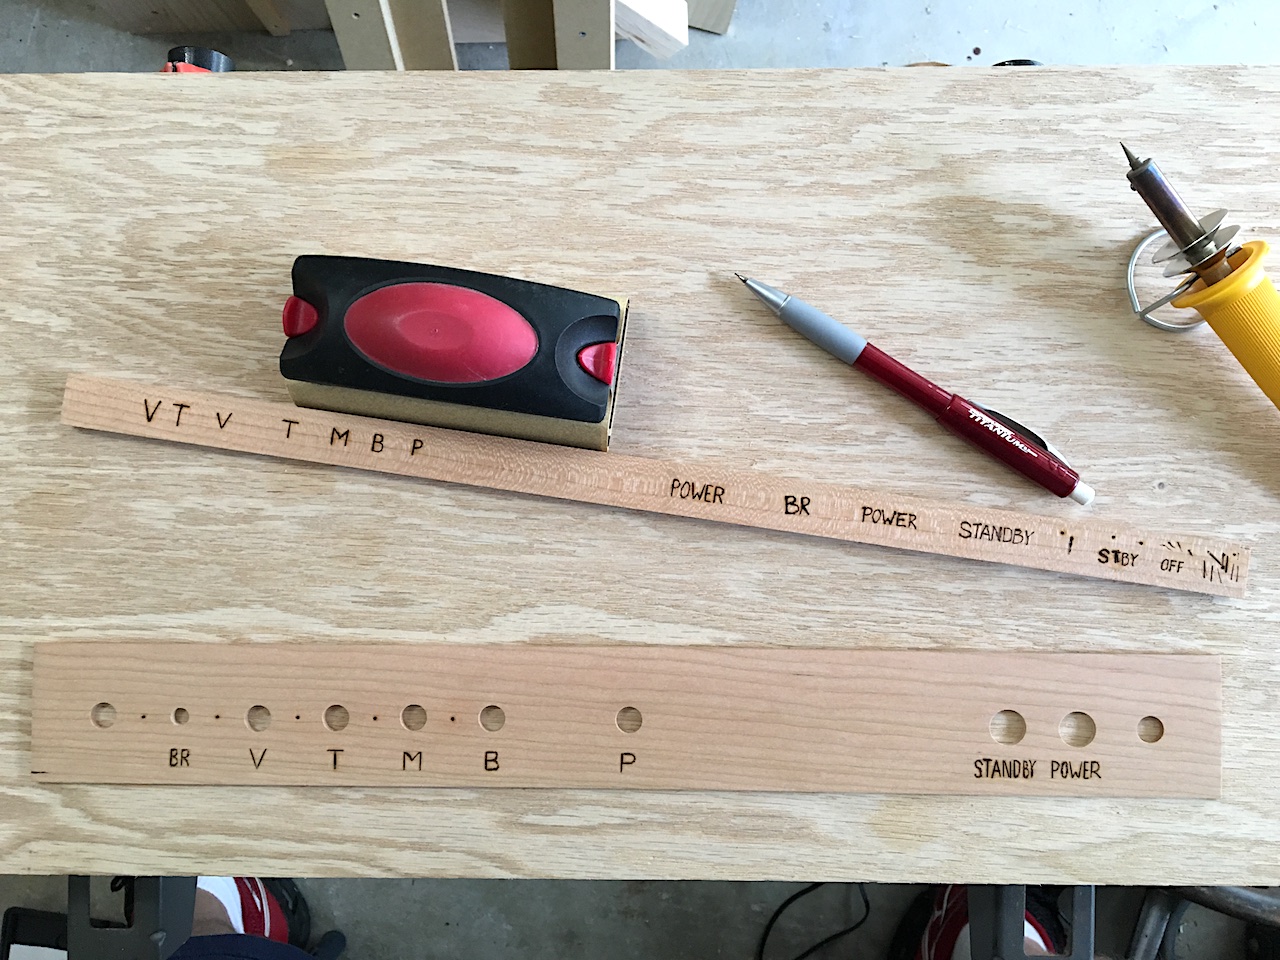
Practiced a few letters, and then dove in. Pretty straightforward, although the rounded bits are kind of tough as you start to "cut" across the grain. The picture is the sum of my wood bruning experience.
I ended up getting the best one Michals had.. Its still a beginers tool at 30$. Ive only been able to use the standard rounded bit to get good results and worked quite well for all types of engraving. Also keep in mind you need to sand the wood supper smooth or else as you mentioned it gets stuck in the grain. Don't forget to use a light touch as well for dynamics.
The verticle lines and the "Vee" and "Tee" are easy with the smaller blade style tip that came with the burner. Just sketch it with pencil, bang out the straight lines with the blade, and then work the harder stuff. Takes very little time really, though I didn't have the courage to shoot for artwork in the blank space. Fortunately, you can get at least three panel blanks from a single piece of 3/4 in wood. I ended up with six blanks so I could have messed up five times. Still have five blanks.
That sounds like a great tip on the letters. It appears that Kens guy did it all by hand. Probably not a stencil on the letters. You can tell from the dynamics and I much prefer this to a standard engraving such as the "Reissues" branding stamp they use (I assume).
I to am going to try my face plate again an pick the better of the two. Ive been getting better and learning the art a bit.
What kind of tool do I need have to cut off 5 faceplates on one piece of 3/4"?
6 faceplates out of two 3/4 inch thick pieces of wood. I started with a 10 and 1/2 foot board and had enough left to cut 6 faceplates.
I used a table saw to cut the faceplates. Cut two pieces of 3/4 inch cherry to proper length and width and then sliced them into three blanks each running the board through the blade with two pusher sticks - one for pressure against the saw fence and one to push the wood through the blade. Since the board is on the 3/4 inch edge, it's a deep cut. I tripped a breaker a few times until I figured things out (I'm still new to woodworking), but I cut the faceplates thick to allow for sanding to final thickness to remove saw marks and any blade burns.
You never know what you're going to find 1/8 inch below the surface with Cherry. The one in the picture I thought had good grain that was similar to the amp cabinet front and only the one mineral streak in the lower left corner. It was nice to have several to choose from.
I like the "hand burned" look too. The engraved/branded stuff is sexy for sure, but I wanted the done by hand appearance as well. I believe you can sketch an image onto the panel through carbon paper to try your hand at an image. Just "follow the lines" with a pencil tip. Something I plan to experiment with at some point.